
How To Set Bias / AntiSkate
It seems that few other subjects in the world of vinyl record replay cause more controversy than how to set the Bias/Anti-skate on a turntable. Look at YouTube and you will find any number of videos on the subject ranging from someone telling you to use a CD (yes really!) to people explaining the physics in detail and why their chosen method is ‘the one’. This page will describe various methods you might wish to use. For the method you shouldn’t use, see How not to set Bias.
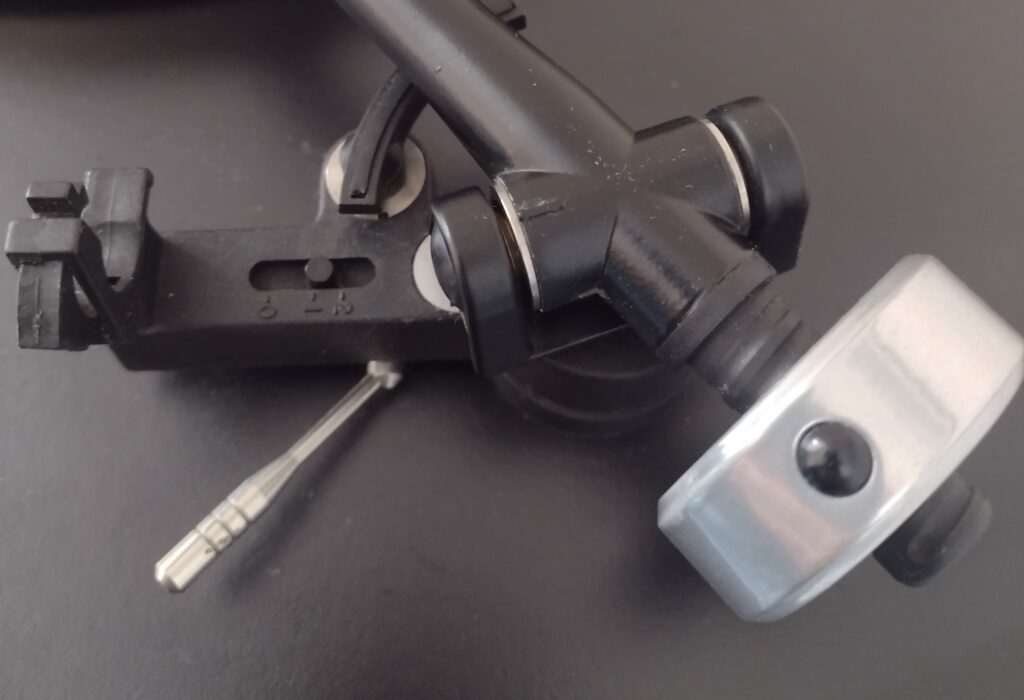
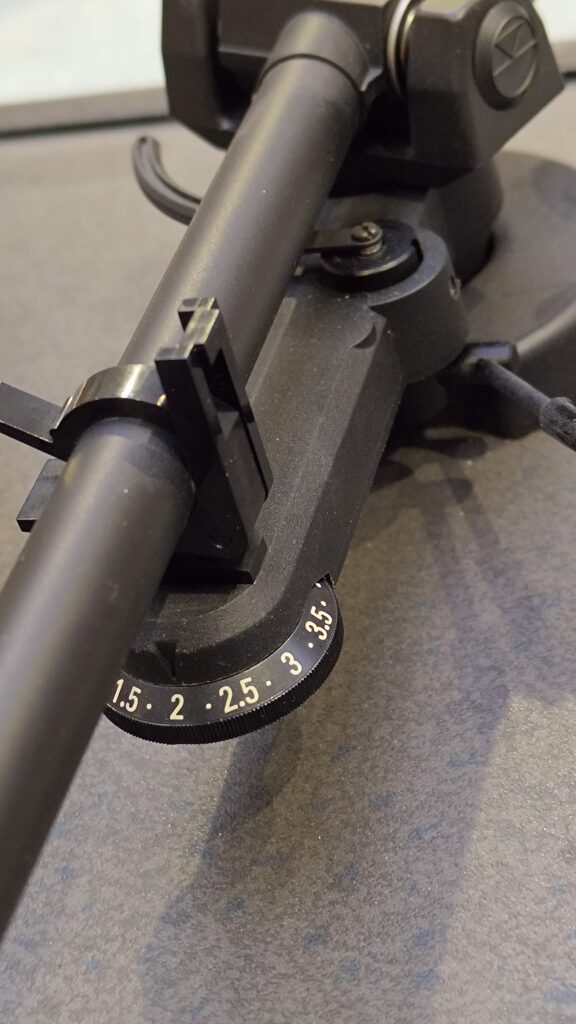
A common anti-skate mechanism, sprung force is applied by adjusting the dial.
Firstly, why is bias (Anti-Skate) needed? Well; the rotation of the disc and the friction of the stylus in the groove cause a force which tends to make conventional turntable (pivot) arms want to swing towards the centre of the disc. The more the friction, the greater the force. If this isn’t clear, imagine if the stylus was stuck to the record at one point. As the record rotated, there would be a very strong force trying to swing the arm so that the stylus ended up next to the centre spindle.
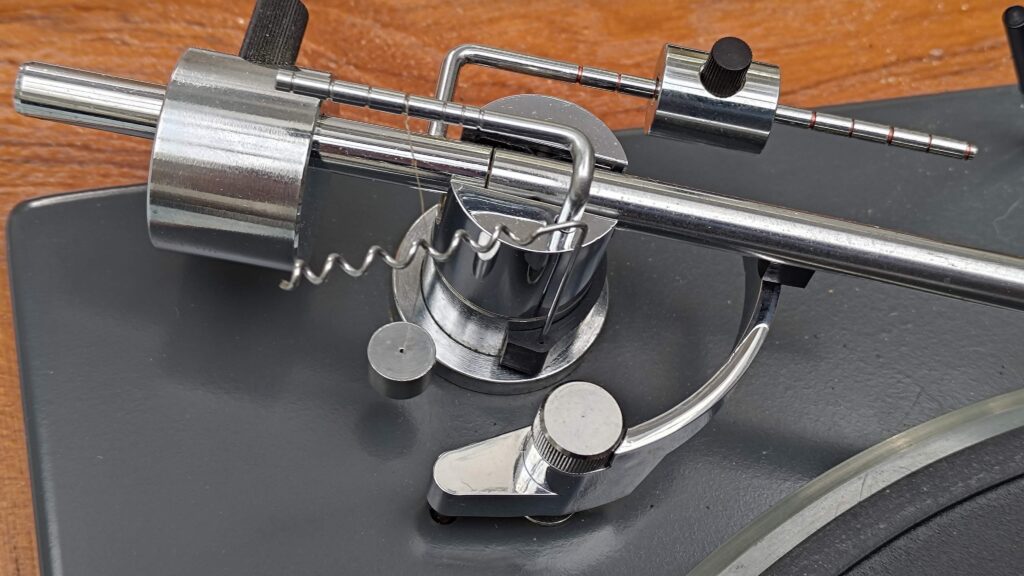
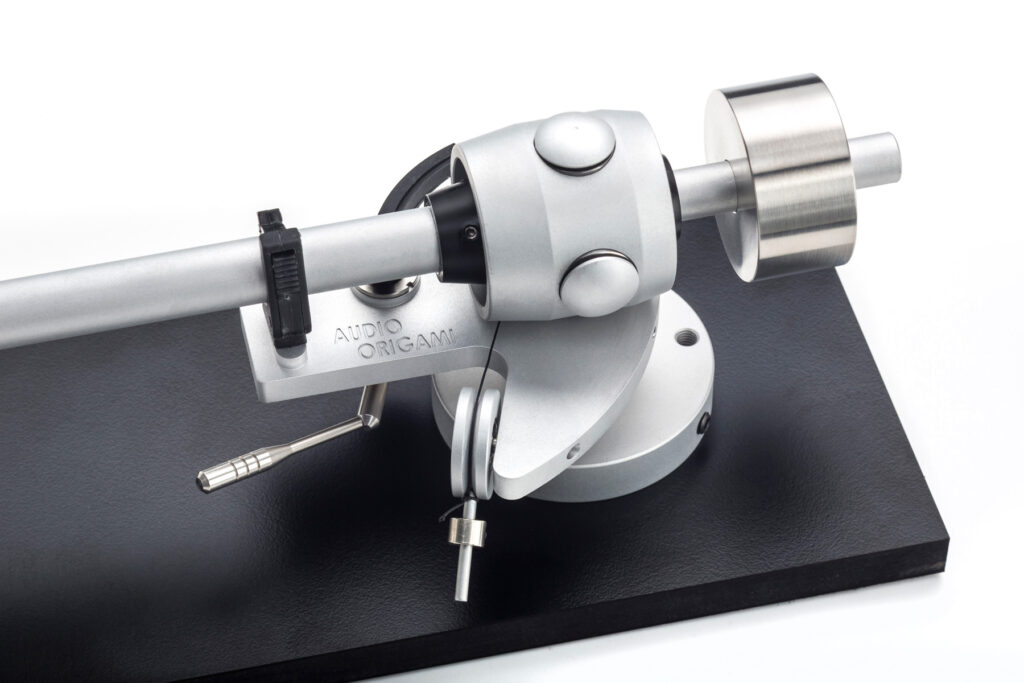
To keep things in balance, this force needs to be compensated for by an ‘outward’ force and that is the ‘bias’ force. Tonearm designers have come up with a variety of ways of applying this force including weights on threads, springs, and the magnetic system used on most Rega arms. Along with cartridge alignment and setting tracking force, setting the bias is part of preparing a turntable to play music.
Here are my suggested methods of setting the bias (I’m sure there are many more).
Set it to the same figure as the tracking weight (VTF) in grams
For: Quick and easy. It’s the method generally recommended by the people who make turntables/arms/cartridges.
Against: It may not be absolutely optimised (whatever that means) But you can always tweak it a bit up and down and see how it sounds if you wish.
Comments: Contrary to popular opinion, the numbers on the bias control are not ‘grams’. They are simply the arm manufacturers attempt to match the likely bias force needed for each gram of tracking weight.
Observe the stylus and cantilever
Get down to the level of the surface of the disc and observe the stylus and cantilever (from the front) as the stylus settles into the groove when cueing. Try changing the bias setting in 0.1 increments to find the setting at which the cantilever is deflected neither ‘in’ nor ‘out’ (left nor right) as the stylus settles into the groove. This shows that there is no net difference between the frictional centre seeking force and the bias force.
For: Practical, visual method.
Against: Takes a little dexterity and effort. May not give the same results for different parts of the disc (for reasons explained later).
Comments: For those who undertake the task regularly and ‘get their eye in’; this method is probably the quickest and easiest.
Test Disc
Buy a test disc and experiment with tracking the test tracks made for this purpose, adjusting the bias to achieve the best possible tracking performance whilst listening for breakup on either left or right channel and increasing/decreasing bias accordingly.
For: Practical method which demonstrates the effect of mis-tracking caused by wrong bias setting
Against: Requires purchase of test disc. Time consuming. Is arguably optimising for unrealistic programme material compared to what might be played/enjoyed in practice
Comments: If you have an hour or two to spare… A more advanced version of this involves using instruments to measure the distortion of the test tracks rather than relying on ‘by ear’.
Grooveless Disc
Using a test disc with a smooth (grooveless) band; or perhaps an area towards the centre of a real (sacrificial) record, lower the arm onto the record while it is rotating and observe the movement of the arm. If it tends to move towards the centre of the record, increase the bias a little and repeat. If it moves outwards, reduce the bias before trying again.
For: Potentially requires no additional equipment.
Against: Relies on the assumption that the friction of the stylus on smooth vinyl is the same as in a groove. Only has a chance of working with basic stylus profiles (conical or elliptical). Advanced stylus profiles tend to be ‘sharper’ and can dig into the vinyl giving a false indication and hence bias setting.
Comments: Use with care. This method is responsible for many unjustified complaints that the bias control isn’t working properly when novices think they need more bias force than the arm can give. If you find this, try a different method.
If you choose any method other than the first one above, you should still expect the final setting to be roughly the same as the tracking force in grams. If it differs by much, then something has probably gone wrong. So if you have a cartridge tracking at 2.0g and you find that 1.75 for bias seems to be what is required – all well and good.
If you find yourself at more than half or double the nominal figure, then it is likely to be your method which is wrong in some way.
Finally; I have some bad news. This is where it gets ‘uncomfortable’ for those of us who strive for perfection, there is no one perfect answer to the bias required on any given turntable/arm/cartridge setup.
The frictional force which causes the need for the bias force to balance it out is not a constant; it varies with the level of modulation in the groove, and it changes across the surface of the disc (since the speed of the groove passing the stylus slows towards the centre of the record). Most bias mechanisms attempt to compensate for the latter, but it’s not an exact science.
To sum up, It’s all a case of trying to average things out and find the best, or ‘least worst’ setting. So, agonising over how one bit of one track sounds just isn’t worth it.
Perhaps it’s just best to set your bias to the number that corresponds with your tracking force (or a little bit less) and go play some music.


Leave a Reply